
How to Get Rid of Air Bubbles on Your Painted Walls
Many buildings need wall paint to protect the materials and add to the building’s aesthetic. However, air bubbles and blisters can form under the layer of paint for several reasons. These imperfections can be tedious to remove and disrupt the building design process.
Why Air Bubbles Are Problematic
- Destruction of Smoothness: Bubbles can be destructive to a smooth, professional paint job. They create uneven surfaces that detract from the desired finish.
- Professional Appearance: A flawless paint job is essential for a polished, professional look. Air bubbles compromise this, making the surface appear amateurish and unrefined.
- Time-Consuming Corrections: Addressing these bubbles involves time-consuming corrections, which can delay project timelines and increase labor costs.
Understanding these issues highlights the importance of proper surface preparation and application techniques to prevent air bubbles from forming in the first place.
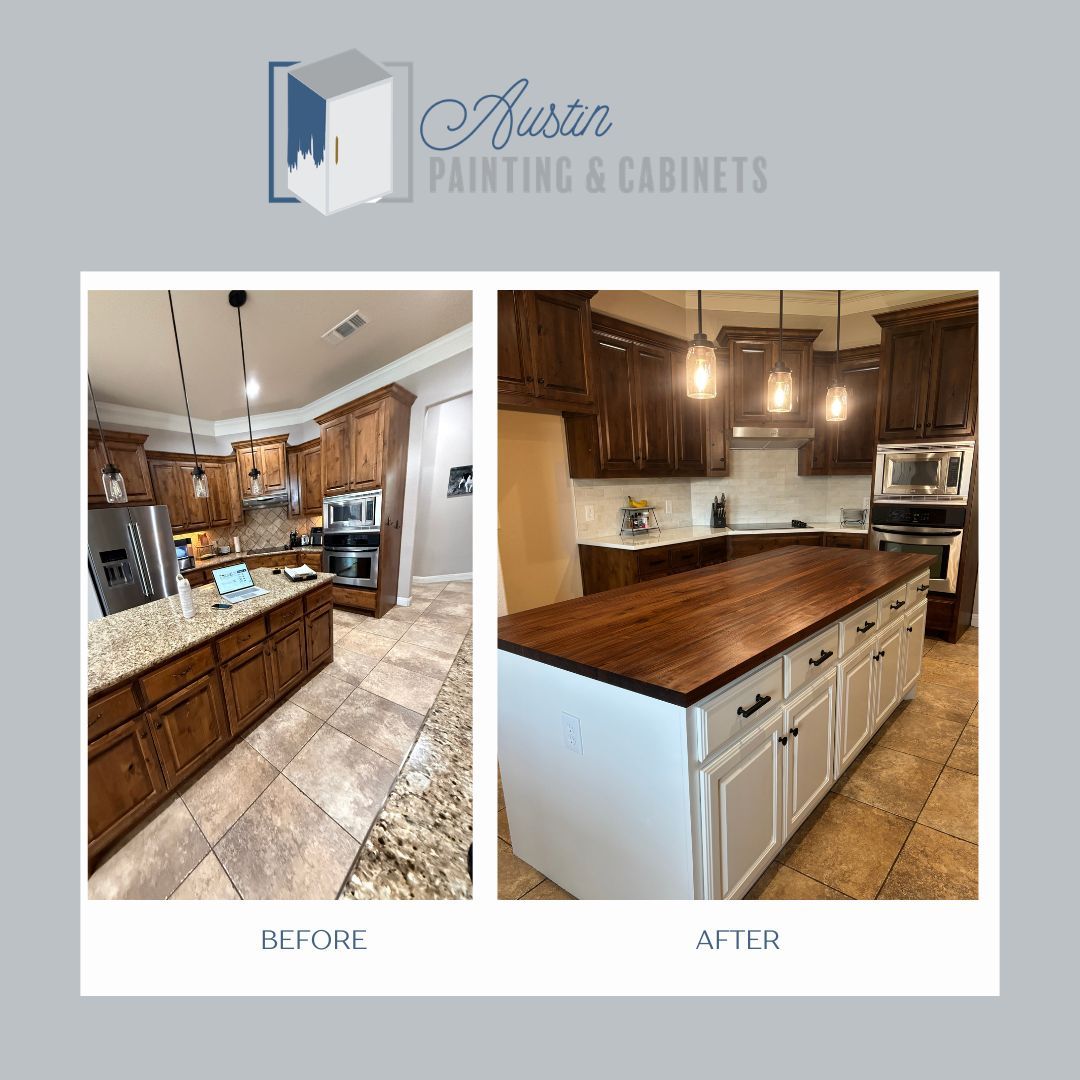
Austin Painting and Cabinets knows how disheartened many homeowners feel after their DIY painting project forms paint bubbles. We, as a
residential painting
contractor in Austin, TX, want to lend a helping hand. Read more to learn how to get rid of air bubbles on painted walls.
Why and When Blistered Paint Happens
After a seemingly perfect paint job, bubbles and blisters can form long after the paint has dried. Blistered paint forms because the paint film failed to adhere to the underlying surface. Because of this, the paint eventually starts to peel off, which causes those unsightly bubbles and distortions.
Blistering usually doesn’t occur until after the paint dries, though you may see some bubbles form while it does. The unwanted blisters can form hours, even months, after you’ve put on the new coat of paint. These undesired cosmetic faults typically develop for several reasons:
- Dirt
- Moisture
- Humid air
- Plumbing issues
- High temperatures
- Poorly cleaned surfaces
- Poorly prepared surfaces
- Layering incorrect paint types
Humidity and high temperatures affect the condition of the paint, causing it to bubble and accumulate air. Water can also build up under the paint, like during plumbing problems or due to moisture.
You should wash, clean, and dry any surface before painting it. For certain materials, you need to sand the surface to ensure the paint can seal to it properly. Taking these steps can significantly reduce the risk of air bubbles forming in your paint.
Additionally, avoid painting on hot days. High temperatures can cause the paint to dry too quickly, trapping air bubbles beneath the surface. A cool, dry day is ideal for painting projects.
Preparation Tips to Prevent Air Bubbles:
- Clean Thoroughly: Dust and debris can interfere with paint adhesion.
- Dry Completely: Moisture can lead to bubble formation.
- Sand if Necessary: Creates a smooth surface for better paint bonding.
- Check the Weather: Avoid painting in extreme heat to prevent bubbles.
By following these guidelines, you'll ensure a smoother, more professional finish on your painted surfaces, ultimately saving time and effort in the long run. For certain materials, you need to sand the surface to ensure the paint can seal to it properly. When doing DIY painting on a property from before 1978, you should be especially vigilant regarding safety and cleaning precautions.
While the property date caution refers to lead paint, you should also be careful with newer properties for a different reason. If the walls already have oil-based paint, you don’t want to put latex paint over it and vice versa. Otherwise, the chances of blistering paint and having to know how to get rid of air bubbles on painted walls increase greatly.
Ways to Avoid Paint Bubbles and Blisters
You can avoid potential problems by following these tips with your interior painting project.
1. Stir the Paint
Because paint is such a viscous liquid, it can easily trap air bubbles. Pouring it into a pan or shaking it too vigorously can cause the paint to form air pockets. Stirring the paint steadily or using a tool to stir it on a low setting can help you avoid this problem.
2. Monitor Your Environment
Dust and moisture, among other contaminants and circumstances, can ruin your paint, so be watchful of the surroundings. Try to paint on milder days without excessive sun exposure or heat, and clean the surface you want to treat. Never forget to dry off any moisture or wetness or address plumbing issues that may cause water buildup.
3. Have Patience While Painting
Painting can be very time-consuming, so you may want to put on the next coat right after the first. However, you should wait until each coat dries completely and ensure its cleanliness before layering more paint on. If the first coat is not completely dry, it may create areas of trapped moisture that can lead to bubbles forming later. Patience can prevent the paint from collecting moisture or dust between the layers and forming air or water bubbles.
By allowing adequate drying time, you're not just avoiding these issues; you're also ensuring a smooth, even finish that enhances the overall durability and appearance of your paint job.
4. Use Proper Paint Types for the Surface
Some paint works better than others on specific surfaces. For example, you would be better off using primer and alkyd, enamel, or latex paint on a drywall joint compound. In contrast, oil or acrylic would work great on metal surfaces, usually after primer.
5. Use Proper Paint Types for the Room or Area
Different paints have various qualities that make them better suited for some environments. Before looking for how to get rid of air bubbles on painted walls, look at the paint’s qualities. For example, water-based latex paint generally works better in bathrooms than oil-based options.
The Bubbling Has Begun: What to Do
Let’s say you’ve already started the paint job by the time you read this, and the bubbles have started forming. In some cases, small bubbles may pop and fade on their own without causing paint craters. You may be able to ignore it for the time being.
However, if the paint bubble doesn’t pop on its own and it hasn’t dried yet, adjust your painting method. Try slower, more even strokes to reduce friction and the chance for air to get caught under the paint.
Otherwise, if you’ve already finished painting and the surface has dried with the bubbles already developing, commence with plan B. You somewhat have to start over, but the process doesn’t have to be too tedious. Plan B involves three steps to get your wall as close to perfection as possible.
1. Remove the Damage
Use a paint scraper and remove the area where the paint has bubbled. If you notice the cause of the bubbling, like plumbing issues or dust, fix those problems before trying again. This process may leave behind one to several patched areas you need to treat for the next step.
2. Prepare the Surface
Sand down any craters on the paint’s surface to ensure you leave behind a flat layer for the new paint. Then, clean off and dry the patched spots and do your best to prevent dust or grime from touching those spaces.
3. Repaint the Surface
Start with a primer suitable for the surface you’re painting and put the first layer. Wait until the primer has dried before you start using your preferred paint. Put the new, bubbling-resistant painting methods you’ve learned earlier to work and repaint the patches.
Even though you may know how to get rid of air bubbles on painted walls, you may want professionals to do the work for you. Austin Painting and Cabinets’ contractors have many years of experience painting different surfaces across Travis County. Achieving a flawless finish and providing top-quality customer service are regular parts of our everyday work.
To consult our team and receive a complimentary consultation, call
512-763-9976 or reach out on our
website today.
Thanks for reading! Please like and share.
Other Blog Posts